


Quality-oriented Manufacturing
We ensure optimum quality is maintained, right from the raw materials we choose to the actual manufacturing of solar panels. As a result, our solar photovoltaic modules achieve maximum possible efficiency and output.
We use ‘A’ grade solar cells and other raw materials sourced from Tier one suppliers. Since the process and quality control determine solar panels’ life, our production team stringently examines every item used in manufacturing.
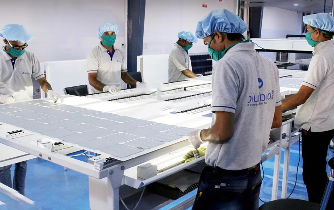

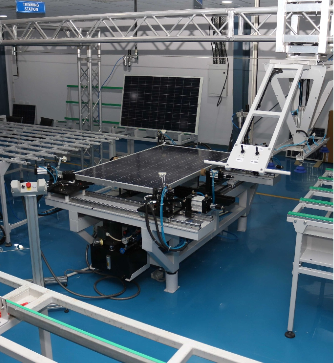
Facilities At Factory


Fully automatic conveyorised system
for Material Movement
100% Visual inspection Pre and
Post lamination
System from
Consul
Screw Type Air-compressor coupled with Refrigerated
Air Dryer from ElGi
Automatic hydraulic framing machine with crimping
feature for robust frame locking
100% Power-backup through UPS
and generator
Solar Panel Manufacturing Process
Cell Testing & Cutting
01
Solar cells are checked and inspected using adva nced optical or imaging sensors to ensure all the components are located correctly. The cells’ very delicate wafers are not damaged or cracked. Further, with the help of a laser machine, they cut into different dimensions depending on the wattage of the Solar Panel. Cutting is skipped where a full-size cell is required.
Tabbing & Stringing
02
The first step i s tabbing and stringing to make a solar cell array. Multiple ribbons are first soldered to the front and back surfaces (tabbing) after tabbing the stringer subsystem, which solders the front side ribbons of a first PV cell to the backside ribbons of the neighbouring PV cell to form strings of PV cells wired in series.
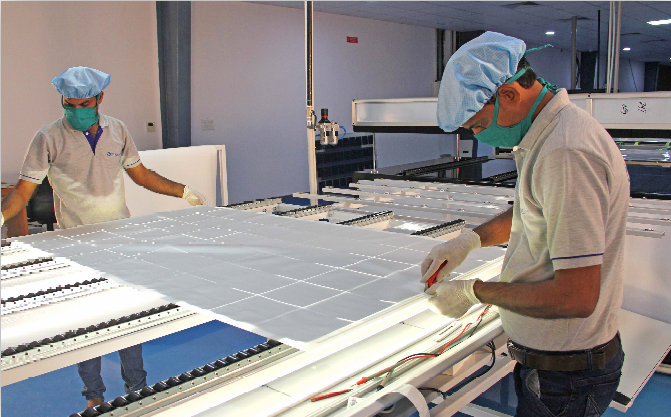
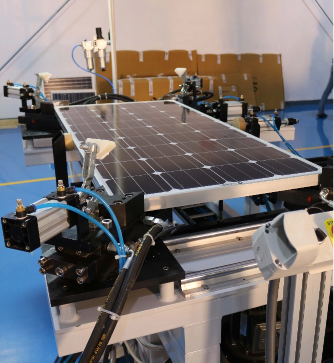
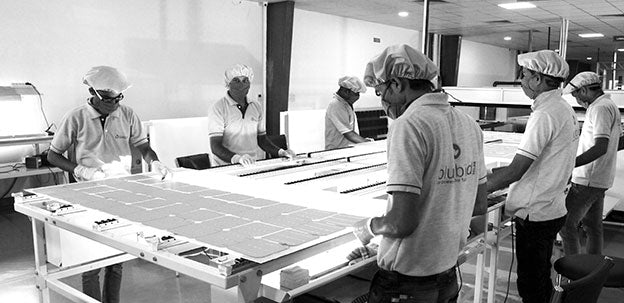
Lay-up & Bussing
03
In this process, the solar ce ll strings from the stringer are placed on the layup table above EVA-covered glass. A small piece of adhesive tape is applied to the cells to hold them in place. This process is called lay-up. Now the second layer of the EVA sheet, the polymer back-sheet, is placed on the solar cell array. The bus wire is soldered with tab wires.
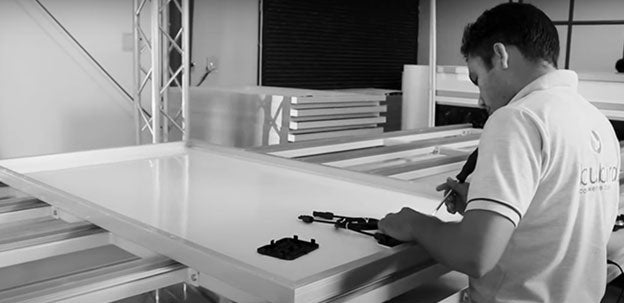
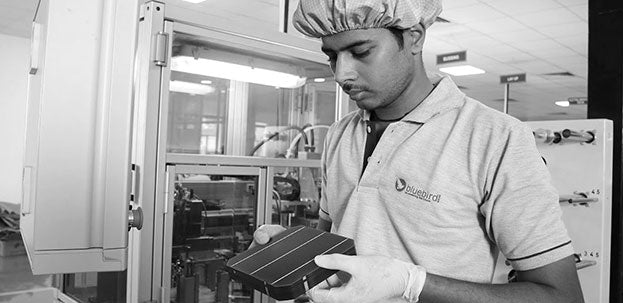
Visual Inspection
04
Visual inspecti on of a PV module is performed before the module has been subjected to environmental, electrical, or mechanical stress testing in the laboratory. This visual inspection is done by looking at the glass underneath to check the PV module alignment, cell-matrix and presence of dust particles or another element on the cell.
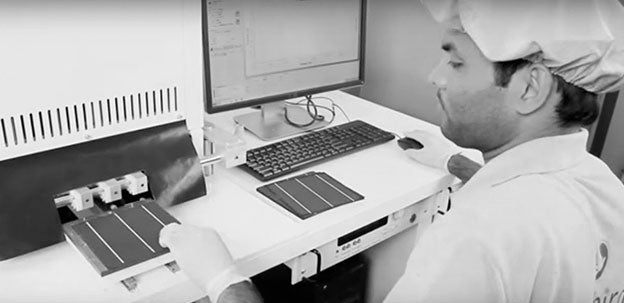
Electroluminescence Testing
05
Bluebird solar panels are 100% EL tested. Electroluminescence technology enables us to iden tify the defects in the modules that are invisible otherwise. These defects may include cell damage /microcracks in the inner structures of the solar cells that can cause underperformance or hot spots in the future. This also checks inactive strings, cell breakage and fissures.
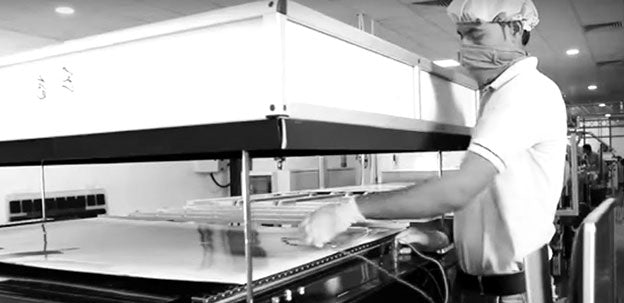
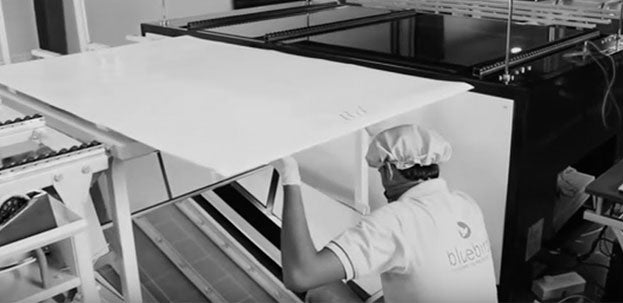
Lamination
06
The encapsu lation of the solar cells through lamination is a crucial step in solar panel manufacturing. It ensures the longevity of the solar cells of the PV Module. The prepared 5-layer module is placed in the lamination machine and heated to the max during the lamination process. 135°C for 20 -25 minutes. The laminate that comes out is completely sealed and is left for 10-15 minutes to cool down till it reaches room temperature.

Framing
07
Solar panel framing refers to the pro cess of attaching protective and strengthening aluminium frames to the PV laminates of a solar panel. The frame that slides around the laminate will be filled with silicon adhesive. Then, the frame will be pressed around the laminate. The holes on the back of a PV frame make it easy to install the panels on a mounting structure
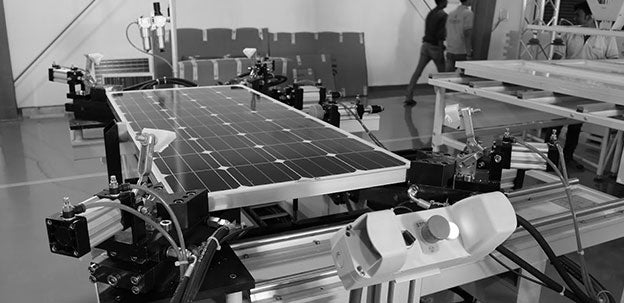
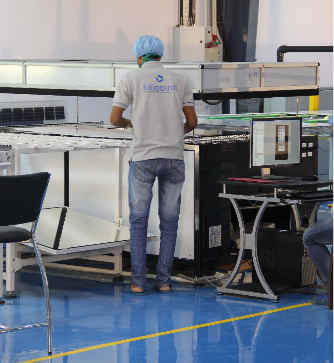
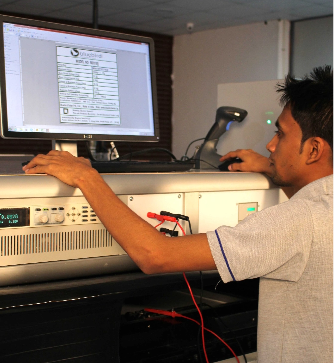
Sun Simulation Testing
08
Sun SimulatorTest or Flash Test measur es the output performance of a solar PV module. During a flash test, the PV module is exposed to a short (1ms to 30ms), bright (100 mW per sq. cm) flash of light whose output spectrum is as close to the spectrum of the sun as possible. Module parameters are measured at standard test conditions (STC). The flash test results are compared to the data specifications of the PV module type, which are then printed on the label and pasted at the back of the solar panel

Fixing Junction Box
09
An IP68 rated PV junction box is attached to the back of the solar panel with silicon adhesive. It is the output interface of the solar panel. The diodes inside the junction box keep the power flow going in one direction and prevent current from feeding back into the panels when there's no sunshine. It is connected to MC4 connectors with the help of 4mm cables.